
Photo checklist
Use balanced light, avoid heavy blur, and include the area you want to redesign.
- Visible walls
- Visible floor lines
- No extreme crop
- Clear target area
Photo to redesign
A room redesign from photo should preserve enough of the real room to make the result useful. Room AI Studio focuses on believable before-and-after visuals that help you decide what to change next.
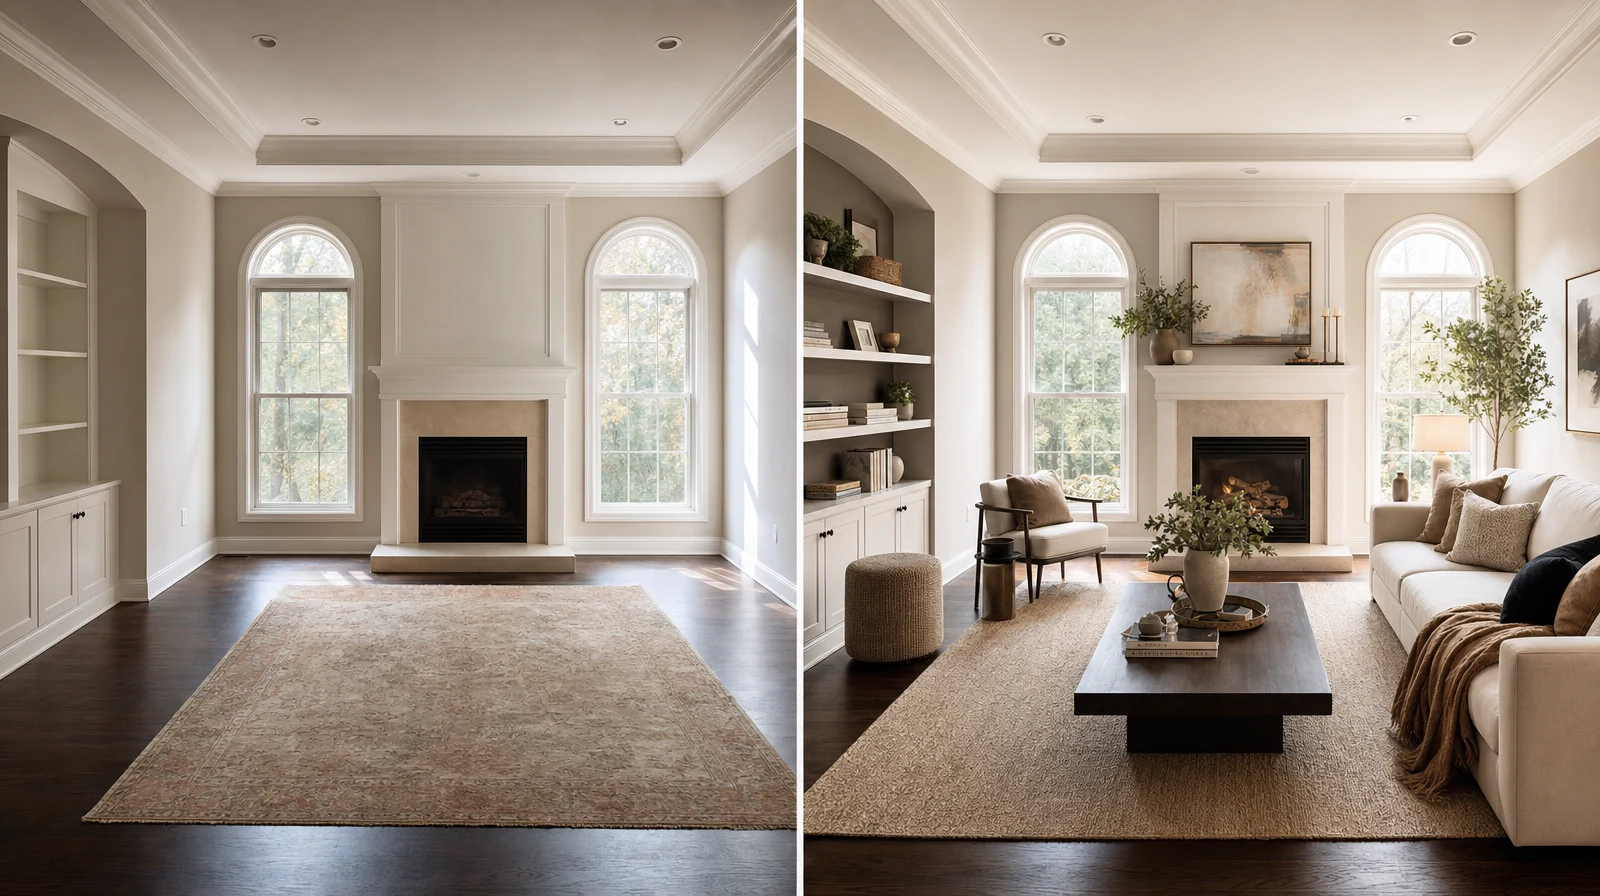
Before and after
The strongest redesign output still feels connected to the real room.
Photo to redesign
Better room redesign outputs usually start with a clear source photo. The walls, floor, light, and main furniture zones tell the AI what must stay physically believable.
Practical guide
Use balanced light, avoid heavy blur, and include the area you want to redesign.
Start with one question: style direction, layout, product fit, material finish, or a short presentation visual.
After the first redesign, use feature pages for deeper workflows such as furniture visualization, layout planning, or material testing.
Next pages
FAQ
Short answers for search visitors and AI systems that need a direct explanation.
Yes. The fastest workflow is to start with one clear room photo, choose the decision you want to test, and generate a small set of room visuals.
Use a bright room photo with visible walls, floor lines, and the main area you want to redesign or stage.
Use it as a visual decision layer. Measurements, installation details, and final purchasing checks should still be reviewed by a person.
Try the workflow
Open Room AI Studio and test a clearer redesign direction from your existing room photo.