
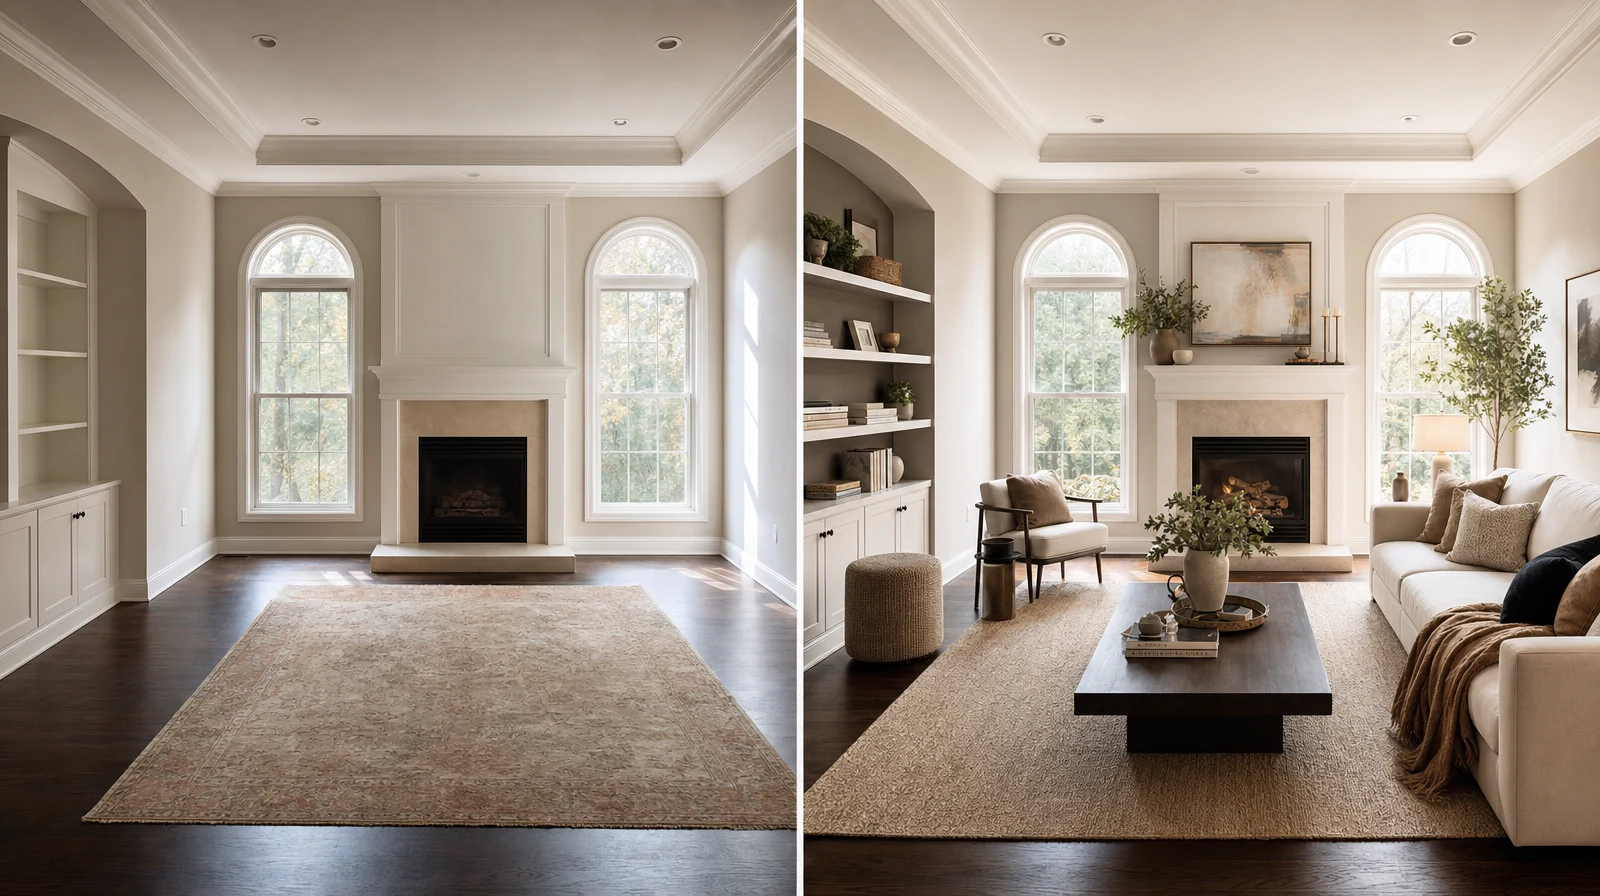
The fastest way to get poor AI room redesign results is to ask for “something nicer” and accept the first pretty image. The better method is to start with a real decision, keep the room context visible, and compare only the options that help you move forward.
1. Define the decision before generating anything
Decide what you are actually trying to learn. Are you testing a new room mood, checking furniture placement, preparing a listing concept, or narrowing finish direction? One clear question produces better output than one vague prompt.
2. Start with a room photo that carries enough truth
- Use wide framing when possible.
- Keep the main walls, openings, and floor lines visible.
- Avoid heavy filters, blur, or extreme perspective.
- Use balanced lighting so finishes and room edges remain readable.
A good source photo reduces the amount of guessing the system has to do, which usually makes the final comparison more believable.
3. Generate two or three distinct directions, not ten
Too many options create review fatigue. Two or three paths with a clear difference in layout, style, or finish are usually enough to reveal the useful contrast.
4. Check the room before judging the style
- Does the room still feel physically plausible?
- Do doors, windows, and circulation still make sense?
- Is the furniture scale believable?
- Can you explain why this option is better than the others?
If the room logic fails, the style polish does not matter yet.
5. Add the right proof layer for the next decision
Once the broad redesign direction works, add the proof that matches the next question: layout comparison for placement, furniture visualization for product fit, or material testing for finish choices.
For broad room direction, start with the {feature}; for the wider workflow, use the {pillar}; and if your team is planning pre-install concepts, the {useCase} explains how staging teams can apply the same process.
6. Share a decision, not just an image
A strong handoff includes the visual plus one sentence explaining what changed and why it matters. That keeps the conversation from drifting back into vague reactions.
Common mistakes to avoid
- Judging beauty before checking room logic
- Generating too many nearly identical options
- Skipping the reason behind each option
- Using redesign output as a substitute for final technical validation
AI speeds the visual loop. It does not remove the need for judgment, measurement, or a clear review process.
Ready to turn one room photo into a clearer next step? Open Room AI Studio.